Getting Started#
This tutorial includes two examples which go step by step through creating a custom widget.
Setup#
Installation#
To get started, make sure the Squirro Toolbox is installed in a Python environment. The Toolbox page also contains basic information to familiarize yourself with how to execute the commands contained in the Squirro Toolbox.
Set up Connection#
To upload a widget to Squirro, the widget command line tool connects with a Squirro instance. For this, two pieces of information are required:
the cluster name,
an authentication token.
A full manual on where to find this information can be found in Connecting to Squirro.
Once you have obtained this information, go to the command prompt window and execute the following commands:
set CLUSTER="<CLUSTER_NAME>"
set TOKEN="<TOKEN>"
Replace all the <...> occurrences with their actual values.
Style a Core Widget (1)#
The first example is an extension to the core Search widget
(Result List in the UI) to change its styling.
As part of a custom widget, you can add custom CSS styles.
These style definitions can change the look and feel of a widget.
What is CSS?
CSS, short for Cascading Style Sheets, is a markup language used to apply styling to web sites. It is applied on top of HTML for any modern web site to set positions, colors, borders, etc. on the page.
Step 1: Prepare Squirro project#
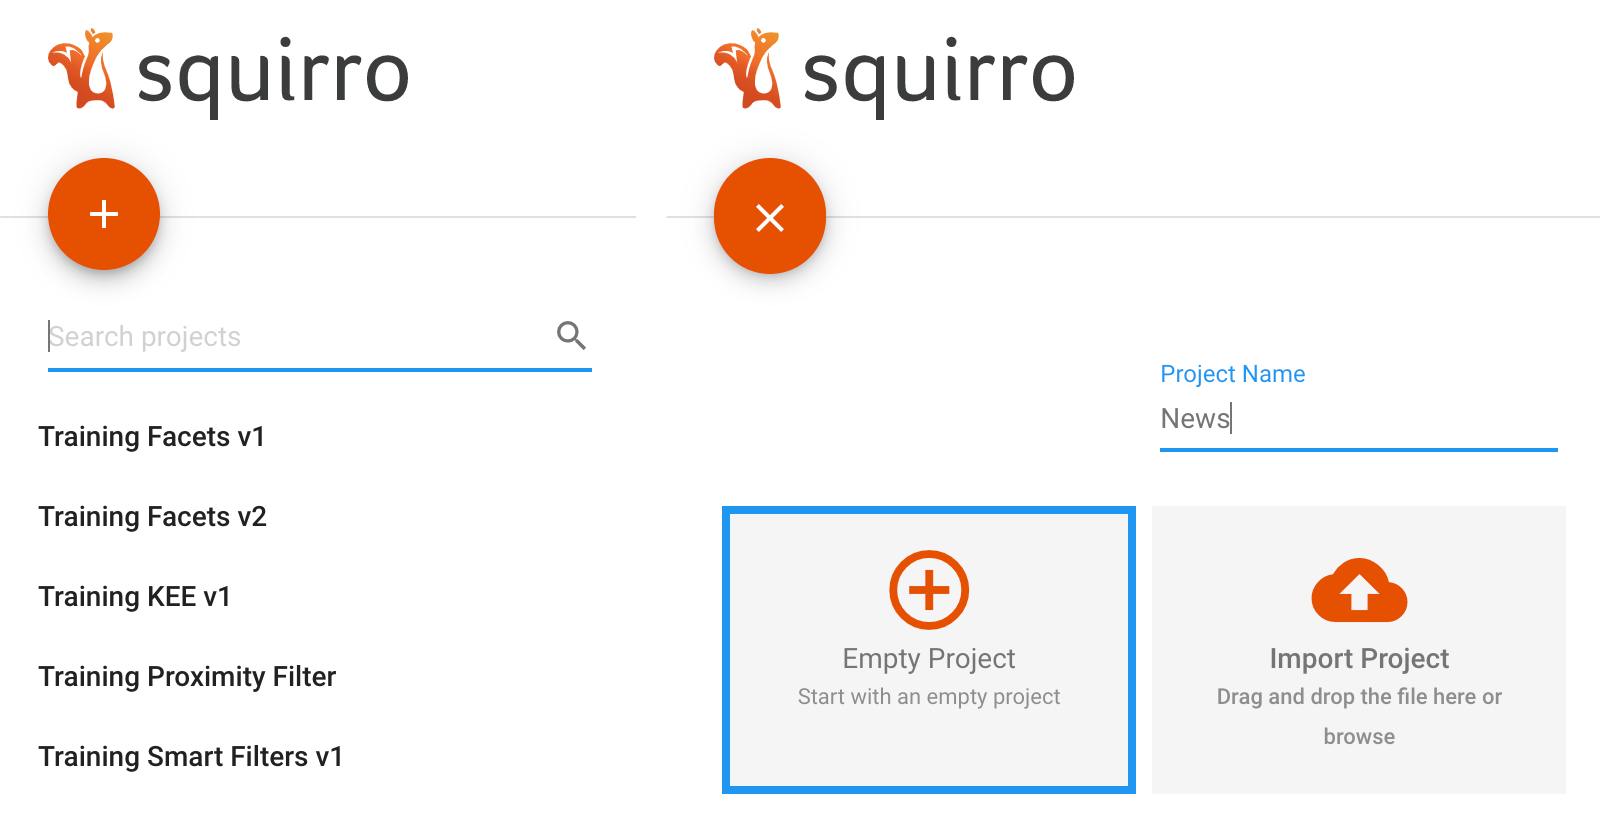
First create a new Squirro project where the custom widget is to be used.
Before starting, download the file news.xls to your computer. This file is later imported into Squirro as an example data set.
Create Project#
Log into Squirro with a user that is allowed to create projects.
Create a new project and specify a project title (e.g. News).
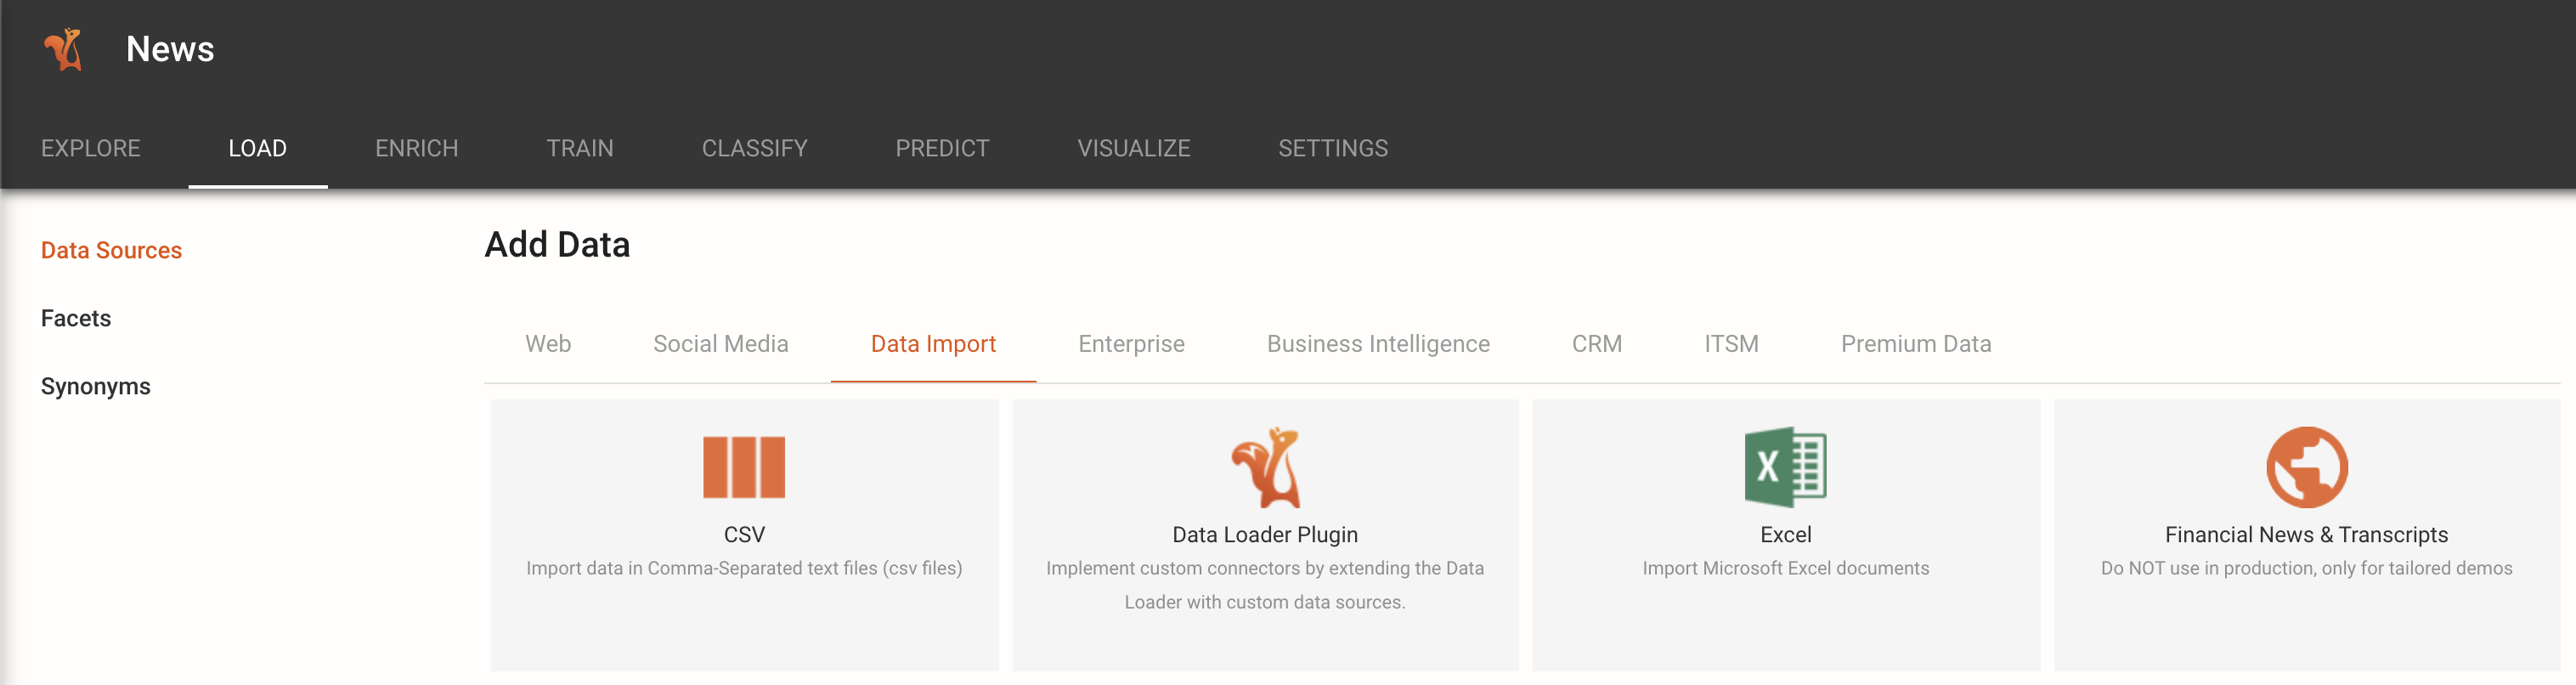
Import Data#
On the Load tab of the new project select the Data Import tab and
click on Excel to launch the import wizard.
Step 1: Configure source
Select the news.xls file to upload and then click on Next.
Step 2: Map to Squirro item fields
In the Map to item fields step, all the fields can be left at the
default mapping. Simply click on Next again.
Step 3: Map to facets
In the Map to facets step, create a new facet for Resource.
This will map the incoming data to a new facet called Resource which we can use
in the upcoming Create Dashboard process.
Click on Next to proceed.
Step 4: Schedule job
In the Schedule job step, all the fields can be left at the
default mapping. Simply click on Save to complete the process to import the data.
Note
The loaded items will now be available in the Explore tab.
Create Dashboard#
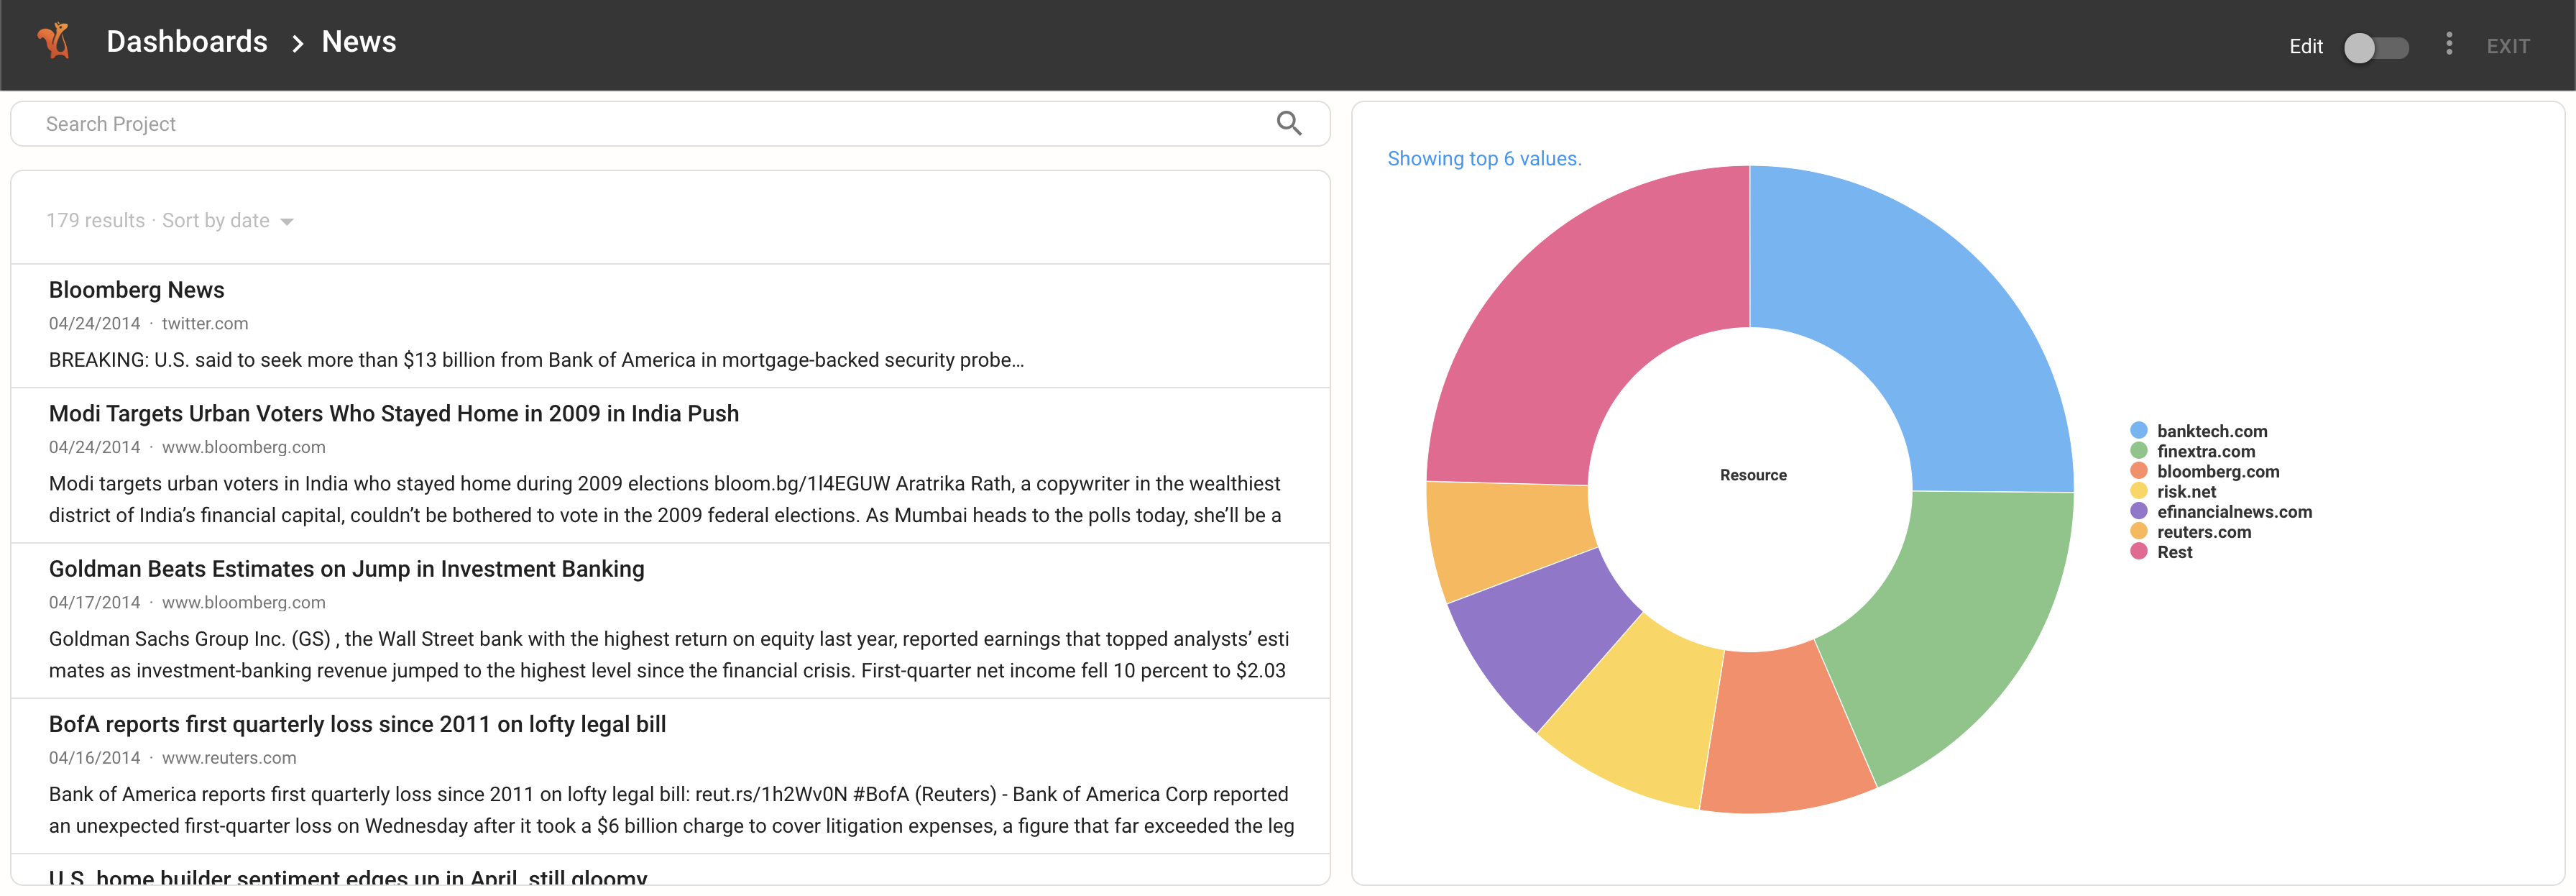
Finally, create a simple dashboard to show the imported data. You can
add a Pie Chart widget to visualize the Resource label
and a Result List widget to show all the items.
With these preparations out of the way, it is time to start working on the custom widget.
Step 2: Create necessary files#
As a first step, create a folder on your computer called result_list_fancy.
In that folder create the following files:
widget.js
export default class Widget extends Widgets.Search {

}
This is the code required to simply extend the core dashboard
Search widget (the JavaScript class name for the Result List widget).
config.js
return Pages.Search.extend({

});
widget.css
.custom-result_list_fancy {

}
This is a CSS file without any rules yet. It simply adds the CSS selector to be used later but does not yet apply any styling.
widget.ini
[widget]
title=Fancy Result List
author=Developer Name
description=Displays a fancy result list
This file includes configuration details for the the widget. It contains the following keys:
title: the name that the widget will have in the user interface when users add it to a dashboard.
author: the name of author who developed the widget.
description: an extended explanation of the widget.
Step 3: Upload Widget to Cluster#
On the command line go to the parent directory of where you have created the widget. For example, if the files you created above are located inside ~/news_project/dashboard/widgets/result_list_fancy, navigate to the directory ~/news_project/dashboard/widgets. command line.
Then execute the following command to upload the widget to the Squirro server:
squirro_asset -v \
    widget upload \
    --cluster $CLUSTER \
    --token $TOKEN \
    -f result_list_fancy
Note
Note that the lines have been wrapped with a backslash \ at the end of each line.
On Windows, you will need to use a circumflex ^) instead.
This command assumes that you have set the variables CLUSTER and TOKEN as described in the Set up Connection above.
Step 4: Using the Widget#
Now go back to the dashboard in Squirro. Due to client-side caching you should now reload the application using the browser refresh button.
Then edit the dashboard and change the result list Type from Result
List to Fancy Result List.
The dashboard should now look the same as before but it is now using the new
Fancy Result List widget. Now, if we add changes to that widget,
the dashboard will automatically reflect them.
Step 5: Add Styling#
Edit the widget.css file and add some new styling rules:
 1.custom-result_list_fancy {
 2    font-size: 16px;
 3    line-height: 20px;
 4
 5    h4 {
 6        font-size: 20px !important;
 7        color: #D65C27
 8    }
 9
10    .additional-info {
11        display: none;
12    }
13
14    .vItemSearch:not(:last-child) {
15        border-bottom: 5px solid #adadad;
16    }
17}
These rules add quite a bit of styling and result in the following effect:
Lines 2-3: Increase the font size of the body.
Lines 5-8: Increase the font size of the title and change its color.
Lines 10-12: Hide the date and source of the item
Lines 14-16: Add a border between the items
The CSS code is preprocessed using Less, therefore the above approach of having all the rules nested inside the .custom-result_list_fancy selector can be used to make sure that the style will only be applied to this specific widget and not to the rest of the dashboard.
Step 6: Re-upload and Test#
Once these changes have been done, upload the widget again using the same command from above:
squirro_asset -v \
    widget upload \
    --cluster $CLUSTER \
    --token $TOKEN \
    -f result_list_fancy
Then reload the dashboard and the result list now displays the new styling.

Create a New Widget#
With this second example, we will create a clock widget that can be embedded to any dashboard to show the current date and time.
Step 1: Prepare Squirro project#
This widget will not display any information from Squirro items. Hence, it can be used in any project, such as the one created for the previous example and described in the Step 1: Prepare Squirro project section.
Step 2: Create necessary files#
As a first step, create a folder on your computer called clock and then, inside it, create the following files:
widget.js
export default class Widget extends Widgets.Static {
    afterInitialize() {

    }
}
This is the initial code to simply extend the core Static widget.
widget.css
.custom-clock .time {
    display: block;
    text-align: center;
    font-size: 20px;
    color: #ccc;
}
This is a CSS file without any rules yet. It simply adds the CSS selector to be used later but does not yet apply any styling.
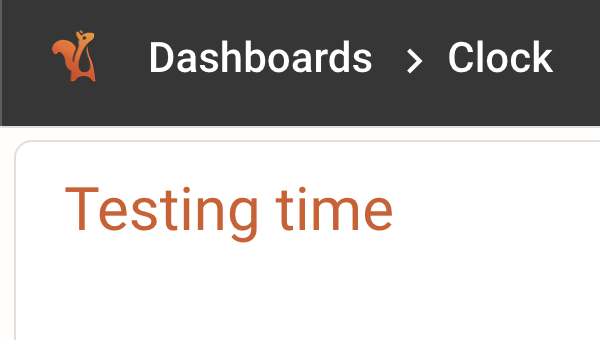
widget.html
<div class="js-clock time">Testing time</div>
This is the HTML template for the widget. We just add a simple container where the clock is going to be displayed.
widget.ini
[widget]
title=Custom Clock
author=Developer Name
description=Displays a custom clock
This file includes configuration details for the the widget. It contains the following keys:
title: the name that the widget will have in the user interface when users add it to a dashboard.
author: the name of author who developed the widget.
description: an extended explanation of the widget.
Step 3: Upload Widget to Cluster#
On the command line go to the parent directory of where you have created the widget. For example, if the files you created above are located inside ~/news_project/dashboard/widgets/clock, navigate to the directory ~/news_project/dashboard/widgets. command line.
Then execute the following command to upload the widget to the Squirro server:
squirro_asset -v \
    widget upload \
    --cluster $CLUSTER \
    --token $TOKEN \
    -f clock
Note
Note that the lines have been wrapped with a backslash \ at the end of each line.
On Windows, you will need to use a circumflex ^) instead.
This command assumes that you have set the variables CLUSTER and TOKEN as described in the Set up Connection above.
Step 4: Using the Widget#
Add the Clock widget to an existing dashboard or
create a new one just for this example.
For better display you can hide the widget header.
For this example no other widgets are required. So save the dashboard and you should get a empty clock on the widget with the sample text from the template.
Step 5: Add Dynamic Code#
Now change the widget.js file to actually render the current time. The
clock needs to be updated regularly, for which we use the JavaScript
method setTimeout.
Edit the widget.js file to contain the following content:
widget.js
 1export default class Widget extends Widgets.Static {
 2    afterInitialize() {
 3        this._timer = null
 4        this.updateTime();
 5    }
 6
 7    updateTime() {
 8        if (this._timer) {
 9            clearTimeout(this._timer);
10        }
11        let now = new Date();
12        this.$('.js-clock').text(now.toLocaleTimeString());
13        this._timer = setTimeout(this.bind(this.updateTime), 500);
14    }
15}
The contents of this is as follows:
Line 1: Creates a new class, extending from the core
Staticwidget. That widget has been chosen because it doesn’t have much overhead.Line 2-3: Declares the element into which the template will be rendered and disabled the default behavior of the text widget.
Line 5: Creates a variable that will hold the timer. This is part of the standard JavaScript pattern for setTimeout.
Line 7-9 (afterInitialize): As part of the initialization call set up the timer by calling the updateTime method.
Line 11-17 (updateTime): Update the time (specifically line 15-16). The other lines handle the timer and ensure that the method is called again every 500 milliseconds.
Step 6: Re-upload and Test#
Once these changes have been done, upload the widget again using the same command from above:
squirro_asset -v \
    widget upload \
    --cluster $CLUSTER \
    --token $TOKEN \
    -f clock
Then reload the dashboard and the result list now displays the new styling.

Conclusion#
The two examples in this tutorial led you through two main use cases for custom widgets:
Style an existing widget in a way that is not yet envisioned by the themes.
Create a new widget for different visualizations.
Widgets are very powerful and only limited by what JavaScript as a language can do.
Consult the Squirro Widget SDK for reference or Squirro Support if you have any questions about how to do something specific in a custom widget.
Managing Widgets in the Squirro UI#
You can manage and edit custom widgets directly in the Squirro UI.
Under the Visualize tab of any project select Custom Widgets from the left column to see the existing custom widgets or to create a new one clicking on the + button.