How to Create a Document-Level Classification Model in AI Studio#
Profiles: Data Scientist, Model Creator, Search Engineer
This page describes how to create a document-level classification model in AI Studio.
It is geared towards data scientists, model creators, and search engineers working within a project that has appropriate data sources connected.
Reference: To learn how to create a sentence-level classification model, see How to Create a Sentence-Level Classification Model in AI Studio.
Prerequisites#
To create a document-level classification model, you must have the following:
An existing Squirro project you are logged into.
Either a Member or Administrater role in the project. (See Squirro Roles & Permissions for more information.)
Relevant data connected to the project. (See How to Load Data Using the UI for more information.)
Once you have these prerequisites, you are ready to get started with AI Studio.
Example Project#
Feature status notice
The Squirro Self-Service platform (start.squirro.com) is still in development. As we continue to refine and improve it, you may encounter some inconsistencies or issues. Your feedback is really important to us in making this feature the best it can be. If you experience any problems or have suggestions for improvement, visit the Squirro Support website and submit a feedback request.
This example document-level classification model is built using the Cognitive Search: Food Safety application available from start.squirro.com.
Using this application, you can follow this guide to build a binary document-level classification model.
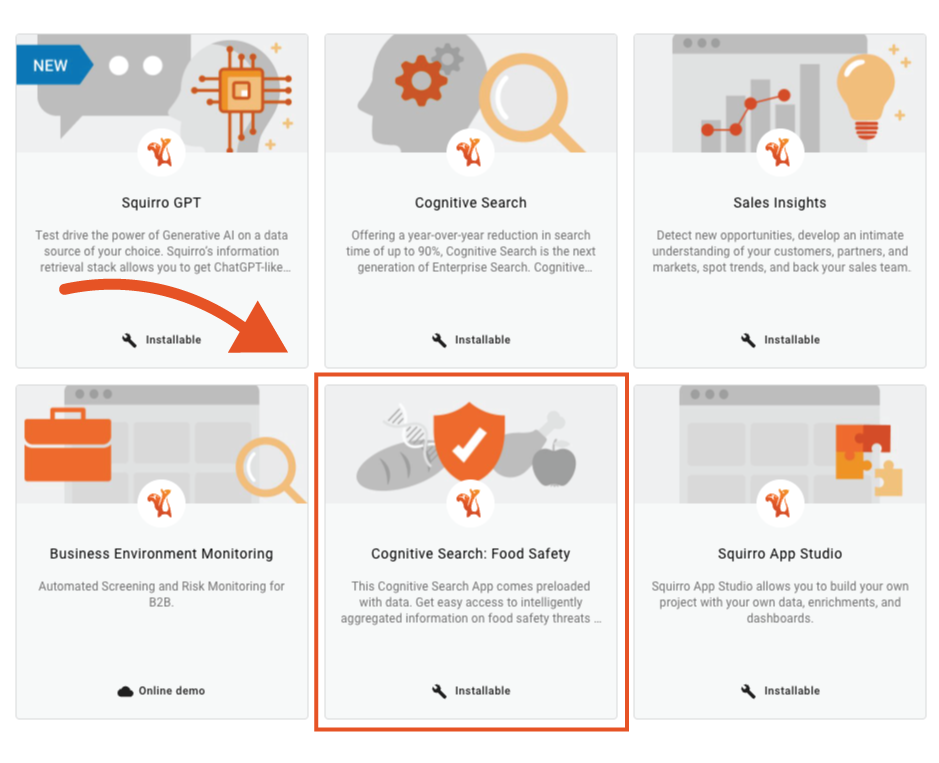
Reference: To learn how to create a copy of this application, see How to Install A Squirro Application.
Note
This example uses document-level, binary classification.
Step 1: Create a New Ground Truth#
To create a new ground truth in AI Studio, follow the steps below:
1: Create and Configure a New Ground Truth#
Note
The first time you launch AI Studio within a project, you will be prompted to create a new ground truth by a welcome screen.
To create a new ground truth, follow the steps below:
Open your Squirro project.
Navigate to the Setup space.
Click the AI Studio tab.
Click Launch AI Studio.
On the Ground Truths screen, click Create a New Ground Truth, as shown in the screenshot below:
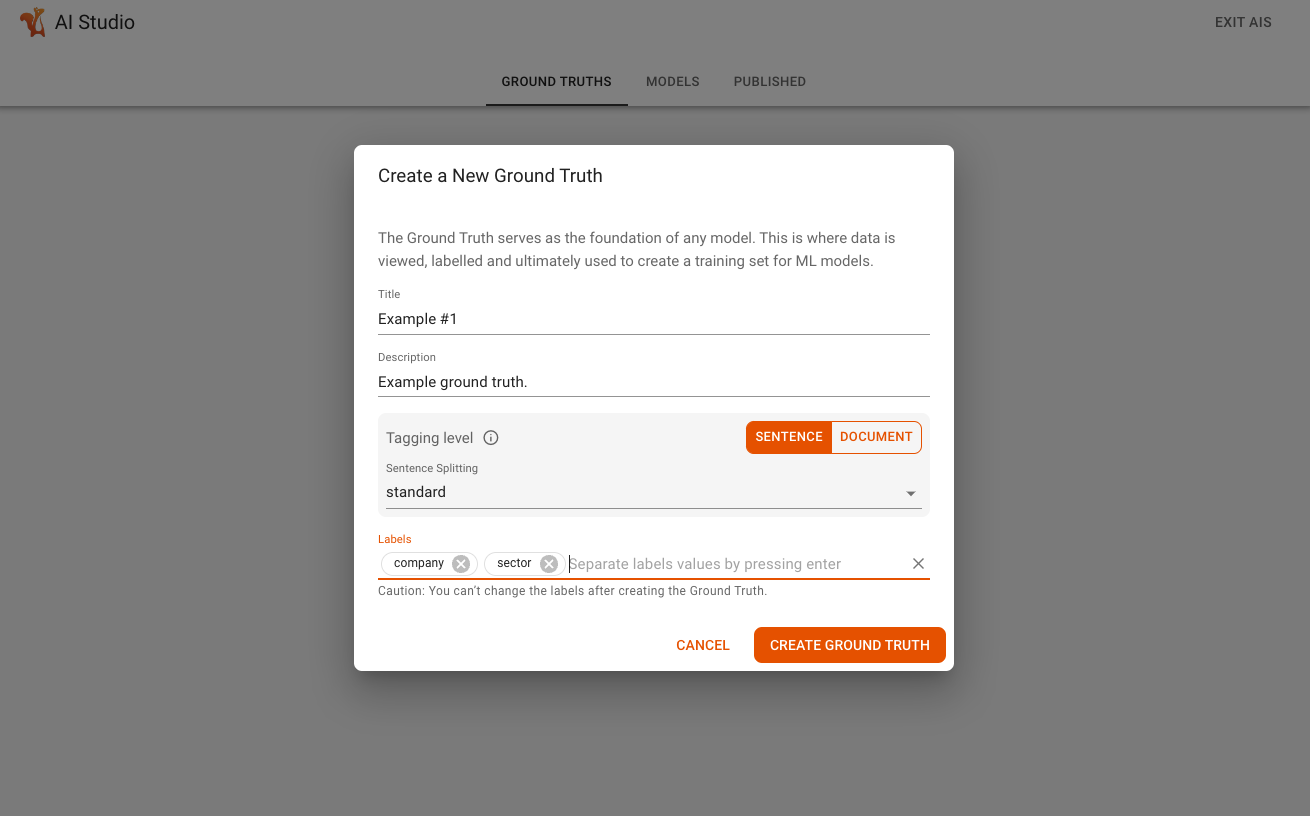
This will launch a modal window that allows you to configure the ground truth, including the following:
Title: Title of the ground truth as it will appear in AI Studio.
Description: Description of the ground truth.
Tagging Level: Level on which the extracts get tagged in the ground truth. Select Document Level.
Sentence Splitting: Select the sentence splitting method to use for the ground truth. This option is not applicable at the document level.
Labels: Create at least two labels to start. In this example, enter
poultryandnon-poultryto classify documents by whether they contain references to poultry or not.
Caution
You cannot change your labels after creating the Ground Truth.
When you’re finished, click Create Ground Truth, as shown in the example screenshot below:
2: Create a Candidate Set#
A candidate set is a set of text extracts that you use to generate your ground truth. Candidate sets help you identify quality text extracts for your ground truth in a large data universe.
All candidate sets within a project are listed in the Candidate Sets section of the Ground Truths page.
Note
By default, Squirro will create a candidate set for you using the name of your ground truth. In this example model build, you can simply edit the default candidate set to start (skip to Step 3 below).
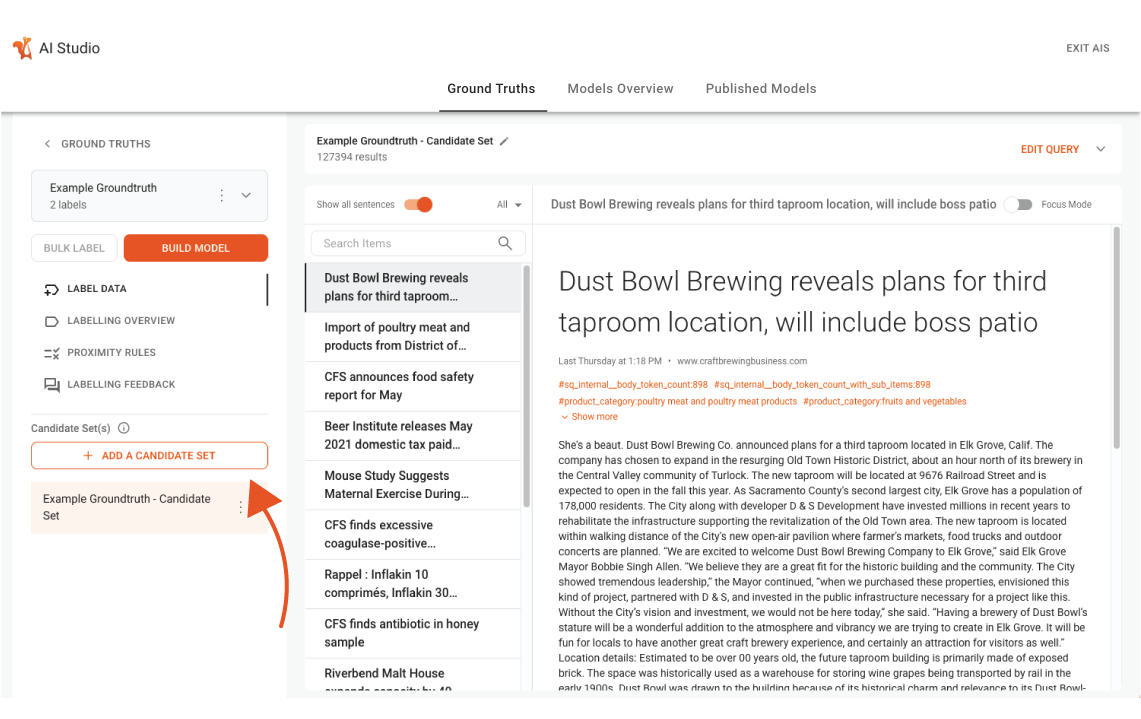
To create a candidate set, follow the steps below:
On the Ground Truths page, click Create a New Candidate Set, as shown in the screenshot below:
Choose between creating a new candidate set, or copying from an existing set, and give it a name.
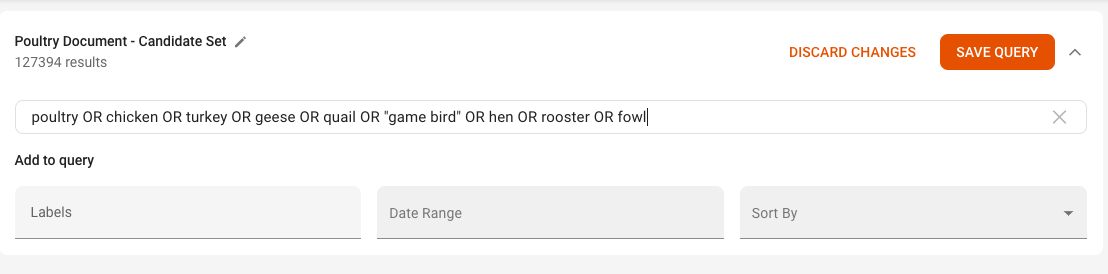
Click Edit Query.
Enter a search query to define the candidate set. You can use Query Syntax to create a more complex query. For this example, to identify poultry-related documents, use the query
poultry OR chicken OR turkey OR geese OR quail OR "game bird" OR hen OR rooster OR fowl, as shown in the example screenshot below:
For a binary classification model like this example, create a second candidate set to serve as the anti set. Click Create a New Candidate Set.
Click Edit Query.
Create an anti set by using the query
NOT poultry OR NOT chicken OR NOT turkey OR NOT goose OR NOT fowl.Click Bulk Label and associate labels as shown in the example screenshot below:

Wait for labeling to bulk labeling finish, then click Build Model.
Caution
If your project is still in the midst of performing bulk labeling and you click Build Model, the model will build with whatever labels have been processed at the time you clicked the button. For best results, allow bulk labeling to finish.
Step 2: Build Model#
With your documents labeled, you are now ready to build your model.
To build your model, follow the steps below:
Click the Build Model button.
Enter a name and description for the model.
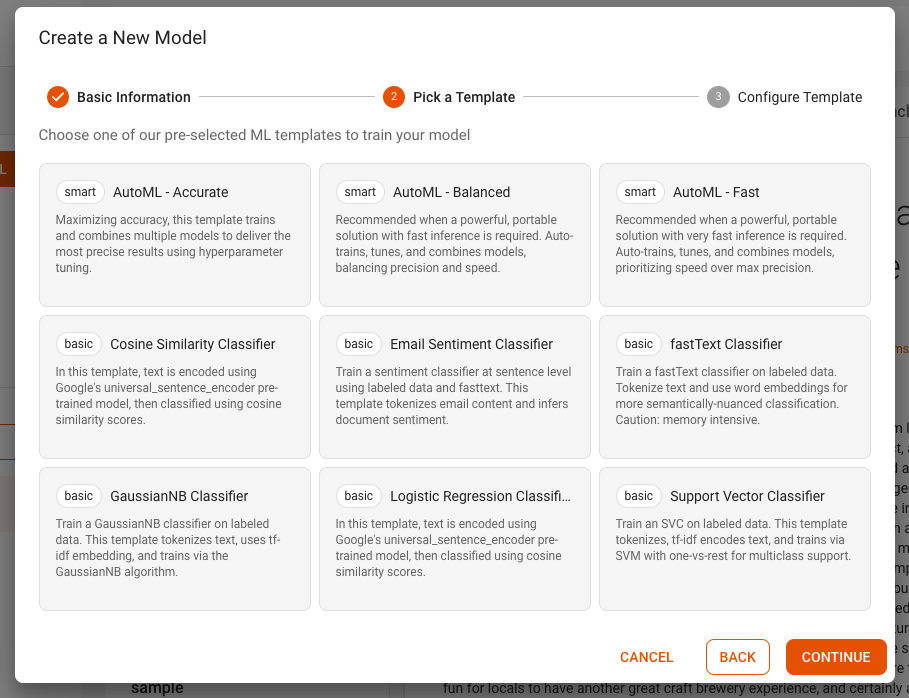
Select a template from the list. In this example, select AutoML - Fast, as shown in the example screenshot below:
Remove any labels you do not want to be classified or shown in the model. (Leave as is for the example.)
Click Create Model.
Your model will now begin building. This process can take several minutes to complete.
Note: It will display Training under the Accuracy column of the Models Overview tab while it is building.
Once your model has finished building, you can view its validation metrics by clicking its accuracy score on the Models Overview tab.
For this example, you should see something that looks like the following:

Step 3: Publish Model#
Once you are satisfied with your model, you can publish it to your project by clicking the Publish icon next to the three-dot menu in the Models Overview tab or clicking the Publish button on the validation screen for the model.
Reference: Learn more about the final AI Studio Published step.