Google Drive Connector#
Profiles: Project Creator
This page describes how to set up and configure the Squirro 1-click connector for Google Drive.
This connector allows project creators to connect to a Google Drive account and select which data they’d like to index into Squirro.
Important: All document types including sheets are converted to PDF before ingesting into a Squirro project.
Prerequisites#
To use this connector, you’ll need the following:
An existing Google Drive account with data.
OAuth set up for 1-click connectors enabled within Squirro.
Note
0Auth is set up by default on all cloud servers at https://start.squirro.com. For any other Squirro installation, ask your Squirro server admin to follow the steps in the OAuth Configuration section below.
Setting Up a Connector#
To connect Google Drive to Squirro, follow the steps below:
Open your Squirro project.
Navigate to the Setup space.
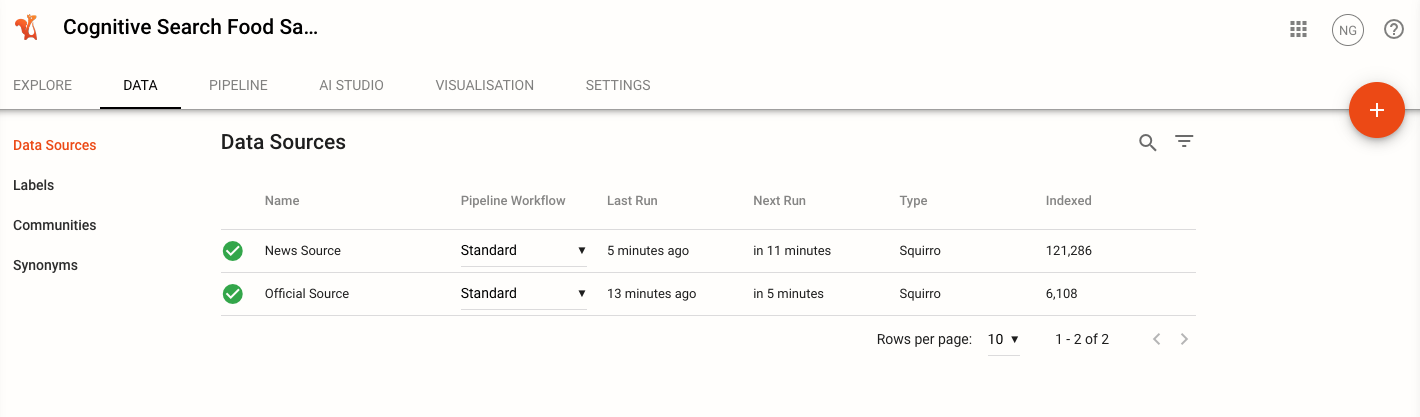
Click the Data tab. By default, you will be on the Data Sources page, as shown in the example screenshot below:
Click the orange plus sign (+) in the top-right corner of the page to add new data.
Click the Enterprise tab, then the Google Drive icon.

When prompted to authenticate your Google account, click Authenticate.

Once you click on the Authenticate button, you will be re-directed to the Google sign-in page. The screen shown below (or similar) then asks you to provide consent for your Google data to Squirro:
Note: Squirro will never ask you for your Google password. This is requested by Google itself.

After signing in or selecting your Google account (if you are signed into multiple accounts), you will be brought back to Squirro’s Source Configuration screen. The screen shown below indicates which Google account Squirro has connected to:

Click Allow to proceed.

After approving, you will be brought back to Squirro’s Source Configuration screen. This screen shows which Google account Squirro has connected to.

Click Save for Squirro to automatically configure the mapping of item fields and labels, as well as any other required source configuration.
Both the media files (image, video, audio) and files from the trash are not fetched by default. To change that behavior expand the Advanced Options section and select the appropriate option. Alternatively, you can define those settings manually by clicking Next and going through the full source setup process.
Note
To specify folder(s) to index, you must specify each folder ID. This can be found in the url of the folder. For example, if the url is https://drive.google.com/drive/u/0/folders/1Z2Y3X4W5V6U7T8S9R0Q, the folder ID is 1Z2Y3X4W5V6U7T8S9R0Q.
Now, your data will begin indexing into Squirro.

OAuth Configuration#
To allow Squirro to connect to the Google accounts of end users, you must register an OAuth2 app on the Google portal.
Google Drive Configuration#
Follow the steps below to configure 0Auth on Google:
Note
The exact process on the Google platform may change. If you encounter any issues, contact Squirro Support for assistance.
Open the Google Developer Console, located at https://console.developers.google.com/.
Click on the arrow on the top of the page to display projects settings.

Click New Project.

Enter an appropriate name for your project and click Create.

After creating the project, go to the link https://console.cloud.google.com/marketplace/product/google/drive.googleapis.com and enable the Google Drive API service.

The next step is creating an OAuth consent screen. To do so, return to your project’s settings and in the OAuth consent screen tab choose External user type (if you want to make the app available only to users within your organization choose Internal user type). Confirm your choice by clicking Create.

On the next screen, choose the following options:
App name: Name of your app
User support email: Email for users to contact with questions about their consent
Authorized domains: When a domain is used on the consent screen or in an OAuth client’s configuration, it must be pre-registered here
Email addresses: Email addresses for Google to notify about any changes to your project
Other fields are necessary only when you are going to apply your app for production.
On the Scopes screen add
https://www.googleapis.com/auth/drive.readonlyscope and click Update button.

On the next screen you can choose test users which will be able to connect to the app. To disable testing mode you need to apply for production status of the Google Drive app. More information about how to do that you will find in the Apply for Production section below.

The last screen is a Summary screen, so you can see your final app settings and make necessary corrections.
Go to the Credentials tab, click Create Credentials button and choose OAuth client ID option.

On the next screen, choose the following options as shown in the screenshot below and then click on Create button:
Application type: “Web application”
Name: Name of the client (could be whatever you want)
- URIs: This is the URL Google will redirect the user to after successful authorization. This needs to be set to
https://<your-server-url>/dataloader/googledrive_plugin/pl/google/authorizedon your server.For example:https://squirro.example-company.com/dataloader/googledrive_plugin/pl/google/authorized.

Apply for Production#
The application is in testing mode by default, meaning there are restrictions on its use. While the app is in the testing mode, only test users are able to access the app.
Also, the app is limited in terms of users (up to 100). Moreover, the app will show a warning that Google hasn’t verified this app during the user authorization process when the users connect their Squirro instance to their Google account.
To avoid that, apply for publishing the Google Drive app.
To start that verification process, follow the steps described at https://support.google.com/cloud/answer/9110914?hl=en.
Squirro Configuration#
After having created the OAuth2 app on the Google portal, you must configure the Client ID and the Client Secret on your Squirro instance.
To do so, follow the steps below:
Go to the Credentials tab of the app and click the details of your client. Get the Google Drive Client ID and the Client Secret from here.

Edit
/etc/squirro/common.inion your Squirro cluster and add the following lines:
[dataloader]
googledrive_client_id = YOUR_ID
googledrive_client_secret = YOUR_SECRET
If the
[dataloader]header is already present in this file, add the two lines to the existing section. The section header can not appear more than once in the configuration file.Restart the frontend & datasource service to apply the settings:
sudo systemctl restart sqfrontendd
sudo systemctl restart sqdatasourced
You are now ready to connect your Squirro instance to Google Drive accounts!